2016年4月27日星期三

FINAL ALUMINIUM SHAPE


FOURTH ATTEMPT

Fourth atempt on metal sheet fabrication

detail making


Feather is soft material, metal is hard material, which is not easy shaping the detail on it.

Use the marker pan follow the template, draw the line on the metal sheet. Put it under the hard wood stick. Then use the sharp steel hammer hit on it. 


After that do some adjustment for the edge and the keep the body as the round shape.


Also when you shaping the detail check time by time, whether fit on the template or not. Finally you would get it all done.

THIRD ATTEMPT

Third attempt on metal sheet fabrication

Before trim the excess part


On third attempt I would like to show how the metal sheet look like before use the scissoer to cut of the excess part.

The best way to do it, use the ruler and marker pan draw the line on the excess part follow the radial slices template. Then use the scissoer cut it, it would more precise and accuracy when it sit on the template.

Repeat all the process that I done on first and second attempt. Finally you have a wonderful result. 


Two piece as a whole
Combine two parts together, then you would see not much gap left over, percise and tight sit on the template. 


SECOND ATTEMPT

Second attempt on metal sheet fabrication

Elevation of the metal 
Section of the metal


Use the cylinder tool and wooden hammer,first of all, how to start. If I make whole of it it will too diffcult, then seperate into two parts. In this case, cut out a fan-shape metal sheet. Hold it on the cylinder tool, blend it around the cylinder. Once you has the intial shape, use the template to find the transition line, mark it, hold the tail of the metal sheet, follow the line smash it on, do it several times. It will start to stretch and slowly forming. Once it start to curve up, would have wrinkles. Then need to use the steel hammer stretch on both side. Hit it slowly, keep it flat and tight on the cylinder.


If you want to get the beautiful curve line, you need to do bit adjustment. 


Use the steel hammer, put the metal on that round iron start to tide up get the smooth curve line.


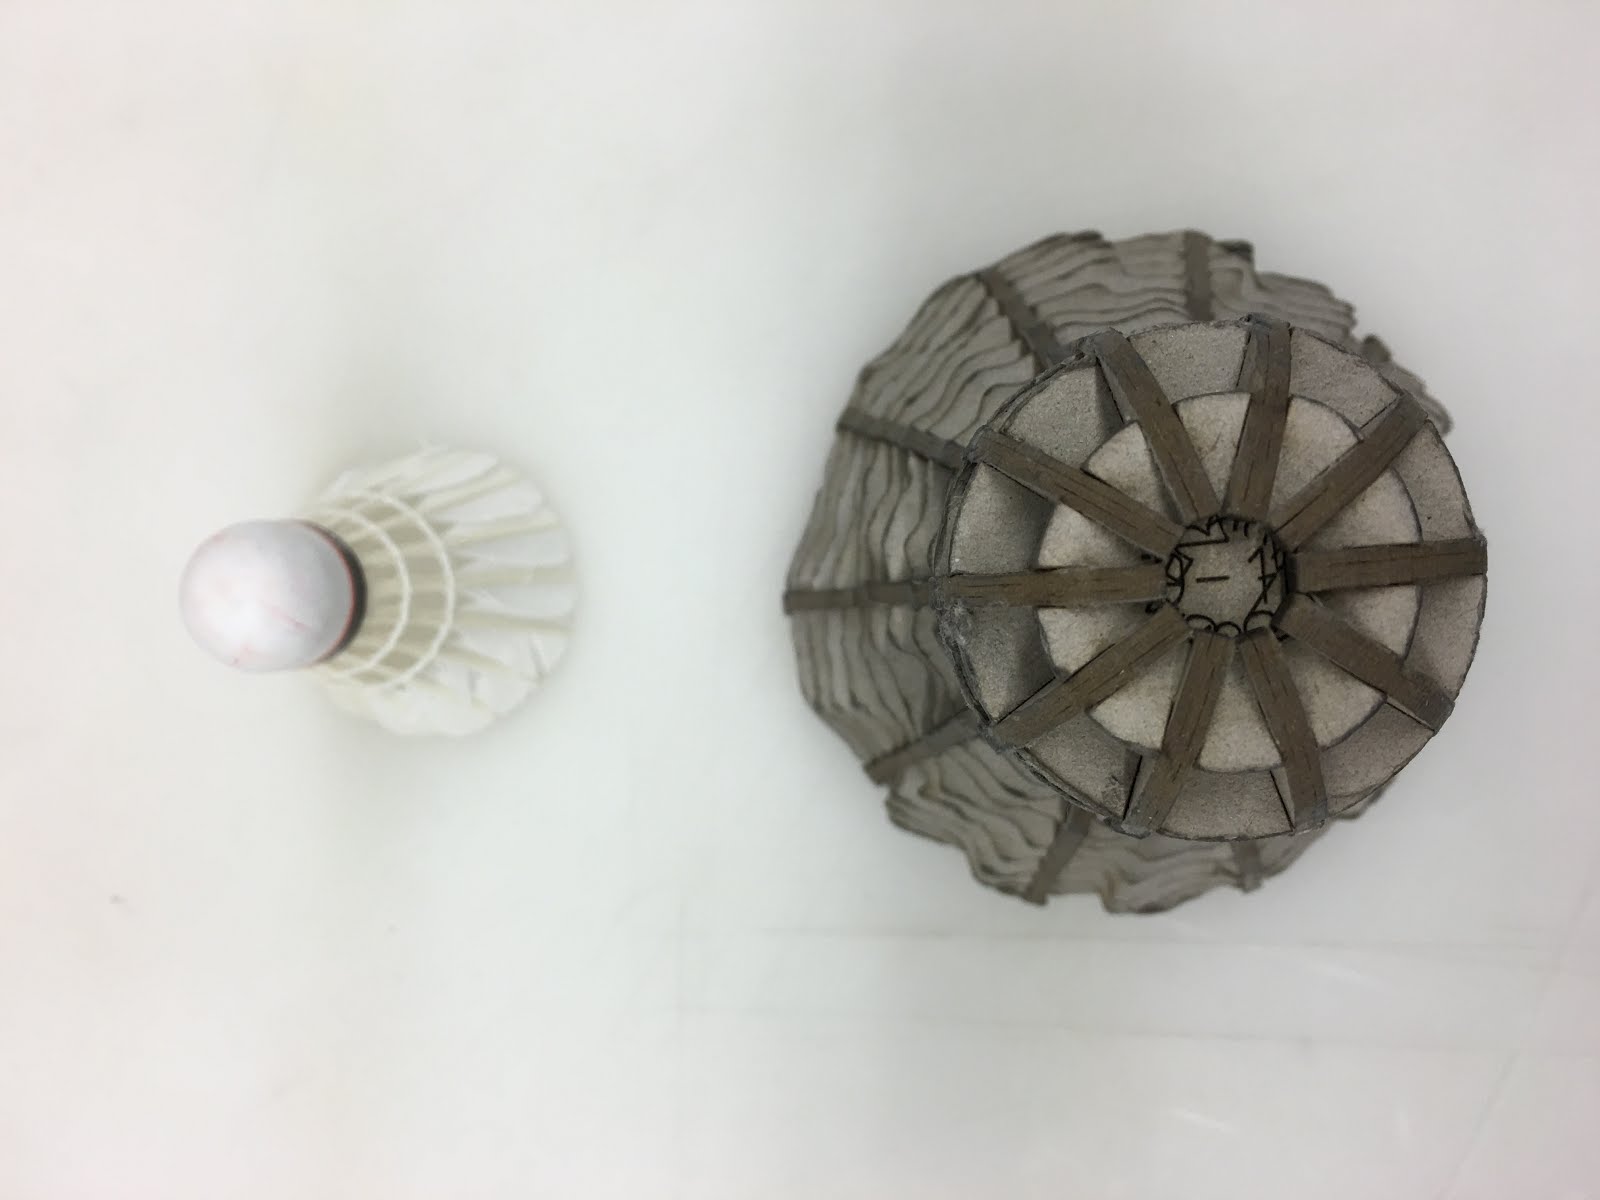
For the head part, repeat the same technique that I show on the first attempt. More importantly, need to check the metal sheet whether suit the template or not. 


Use the marker pan draw line on the excess part, use the scissors to cut off the excess part. 


Finally, in second attempt, I create the metal sheet suit the template perfectly. But one of the mistake I made that is cutting too much excess part off, the metal sheet head can not shrink all around the head. 


2016年4月26日星期二

FIRST ATTEMPT

First Attempt on metal sheet fabrication 
I try to shape the head of the shuttle, get the arc shape of the head. I realise that it is the most important part to shape. All the technic would apply on it include blend, stretch and shrink.


Cylinder tool
wooden hammer

First of all, that you need to use your hand blend the metal sheet on cylinder. The line that I draw on the metal is match the template, which is the way to find the transition point. The metal need to curve up from the marking line. Use the wooden hammer smash from the black line, stretch that part.

The marking line match the template 
More clearly view from the side way.


Hold tight the metal on the cyclinder tool, smash around the head, finish the first part, find other transition point , draw the line on it, because it become more curved, has to smash harder.


Finaly you need to use the steel hammer to shrink that part, keep the head sit and tight on the cylinder. Reminder, because the steel hammer would leave mark on the metal sheet, so you need to rhythmic smash, slowly, step by step.

The metal fit the template


FINAL TEMPLATE FOR BADMINTON SHUTTLE

Fianl Template
The final template that I create is 180mm height, 140mm wide. That greatful to show the shuttle in radial slices and capture most of the detail on it.


The template and the real badminton shuttle
Compare the real shuttle and the template, the template create the line spearate the shuttle in different pieces like the feather.Very helpful for me to understand how it structure when I do the metal fabrication. 


The template is 2 times bigger than the orignal shuttle. As the interior architecture my found object is small and light, when it scale up will become heavy and bigger, but it is still has space for manipulation. I would to see how the space change when it scale up. when you look at the template is like a circular apartment, space been arrange in many way. In this case, it bring form diversity and form transition into interior. It will make interior in better way.   

LASER CUTTING

LASER CUTTING
Change the laser cut patten to right colour
Boxboard laser cut


Set up the stroke to 0.001mm

I choose 3mm boxboard as my laser cutting material, because boxborad is hard and stronge enough to hold together. Friendly remind, boxboard is matboard material which is too hard, so I have to cut it two times. Finally I choose the radial slice, that can show the cutting line and more detail from the top to buttom. Which create 14 horitical pieces and 10 verticial pieces. I want the shuttle stay at the stronge position when test the space on it.  Remind to set up the stroke to 0.001mm for laser cut which would get more precise result, red colour line for cutting and blue colour line for engraving number.