2016年5月17日星期二

INTERDISCIPLINARY SKIN :THIRD DAY

INTERDISCIPLINARY SKIN

THIRD DAY
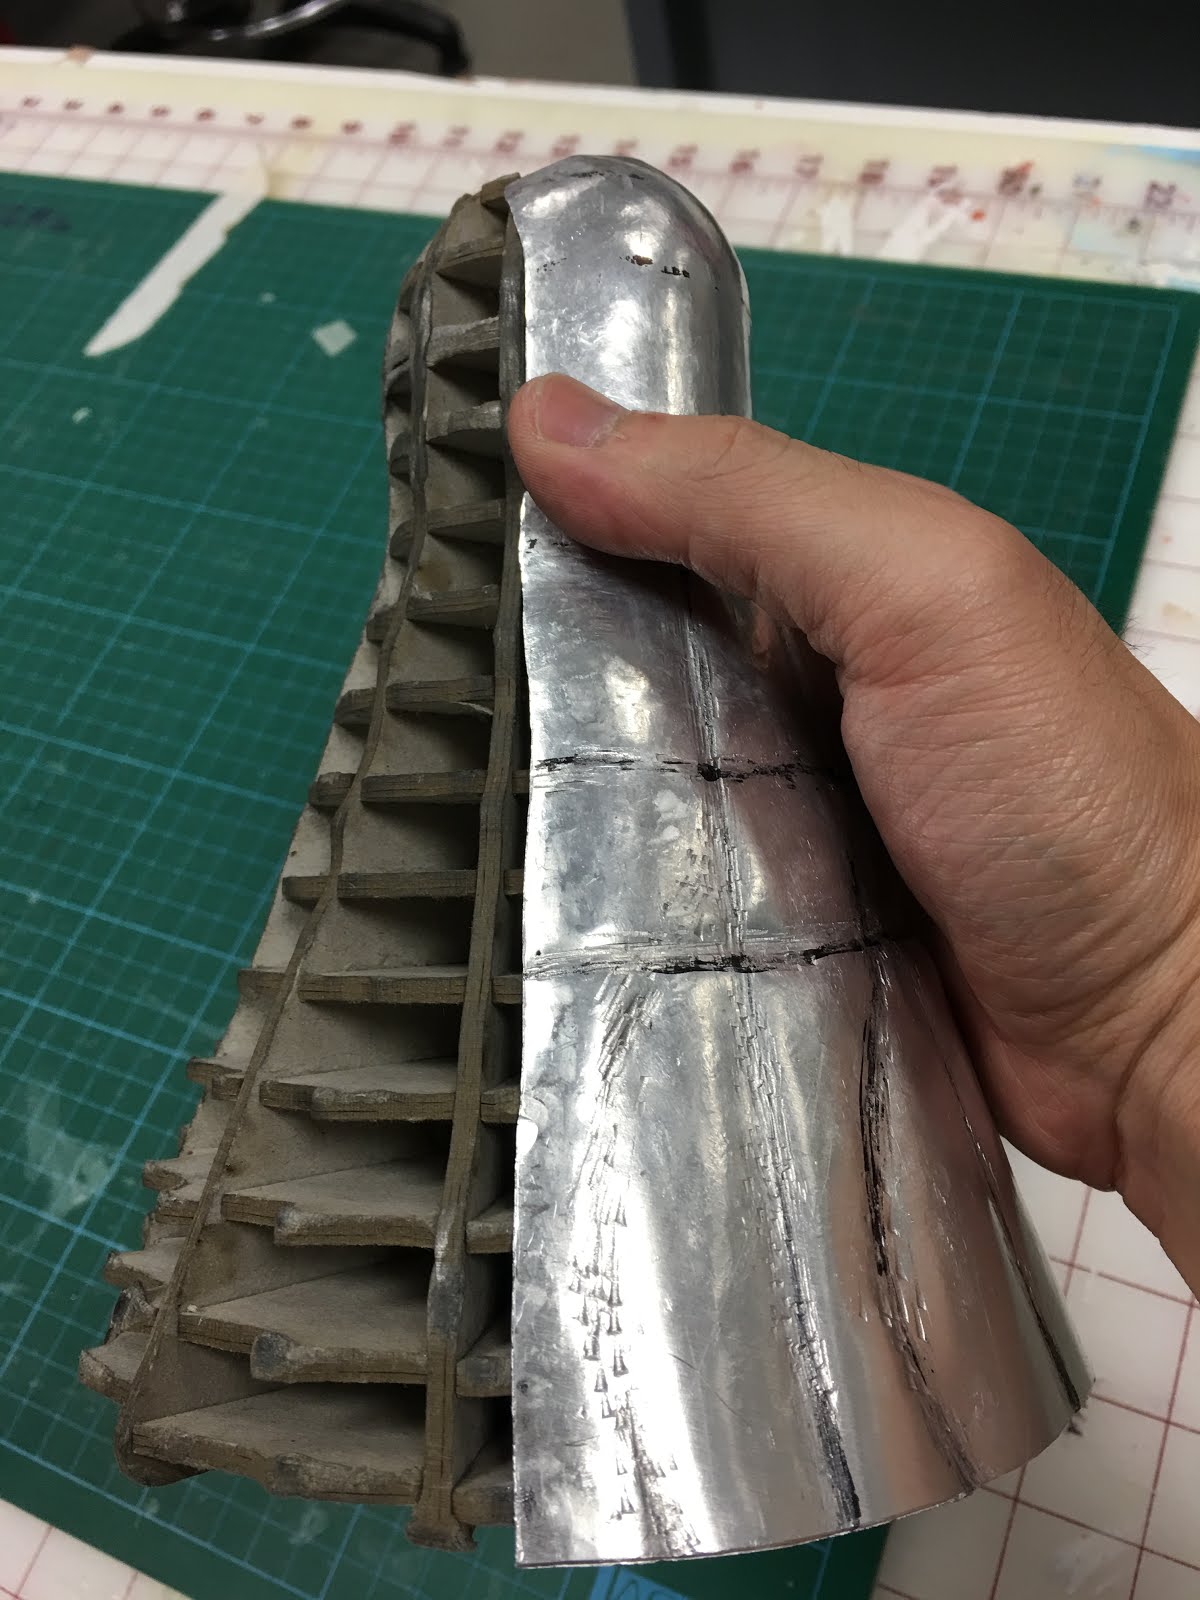
Use the methylated spirits to clear the marking line on the metal skin, it will helpful for you to visual on it. You can see one marking line the metal skin, that part is the one I need to shrink. Put the template into the metal skin, knocke on it, listen to it. look at it you would see the gap between the template and the metal skin. You will understand which part is empty, which part is soild.
From the direct perspective, it already looks like a mouse. It is almost create  the curve shape. 
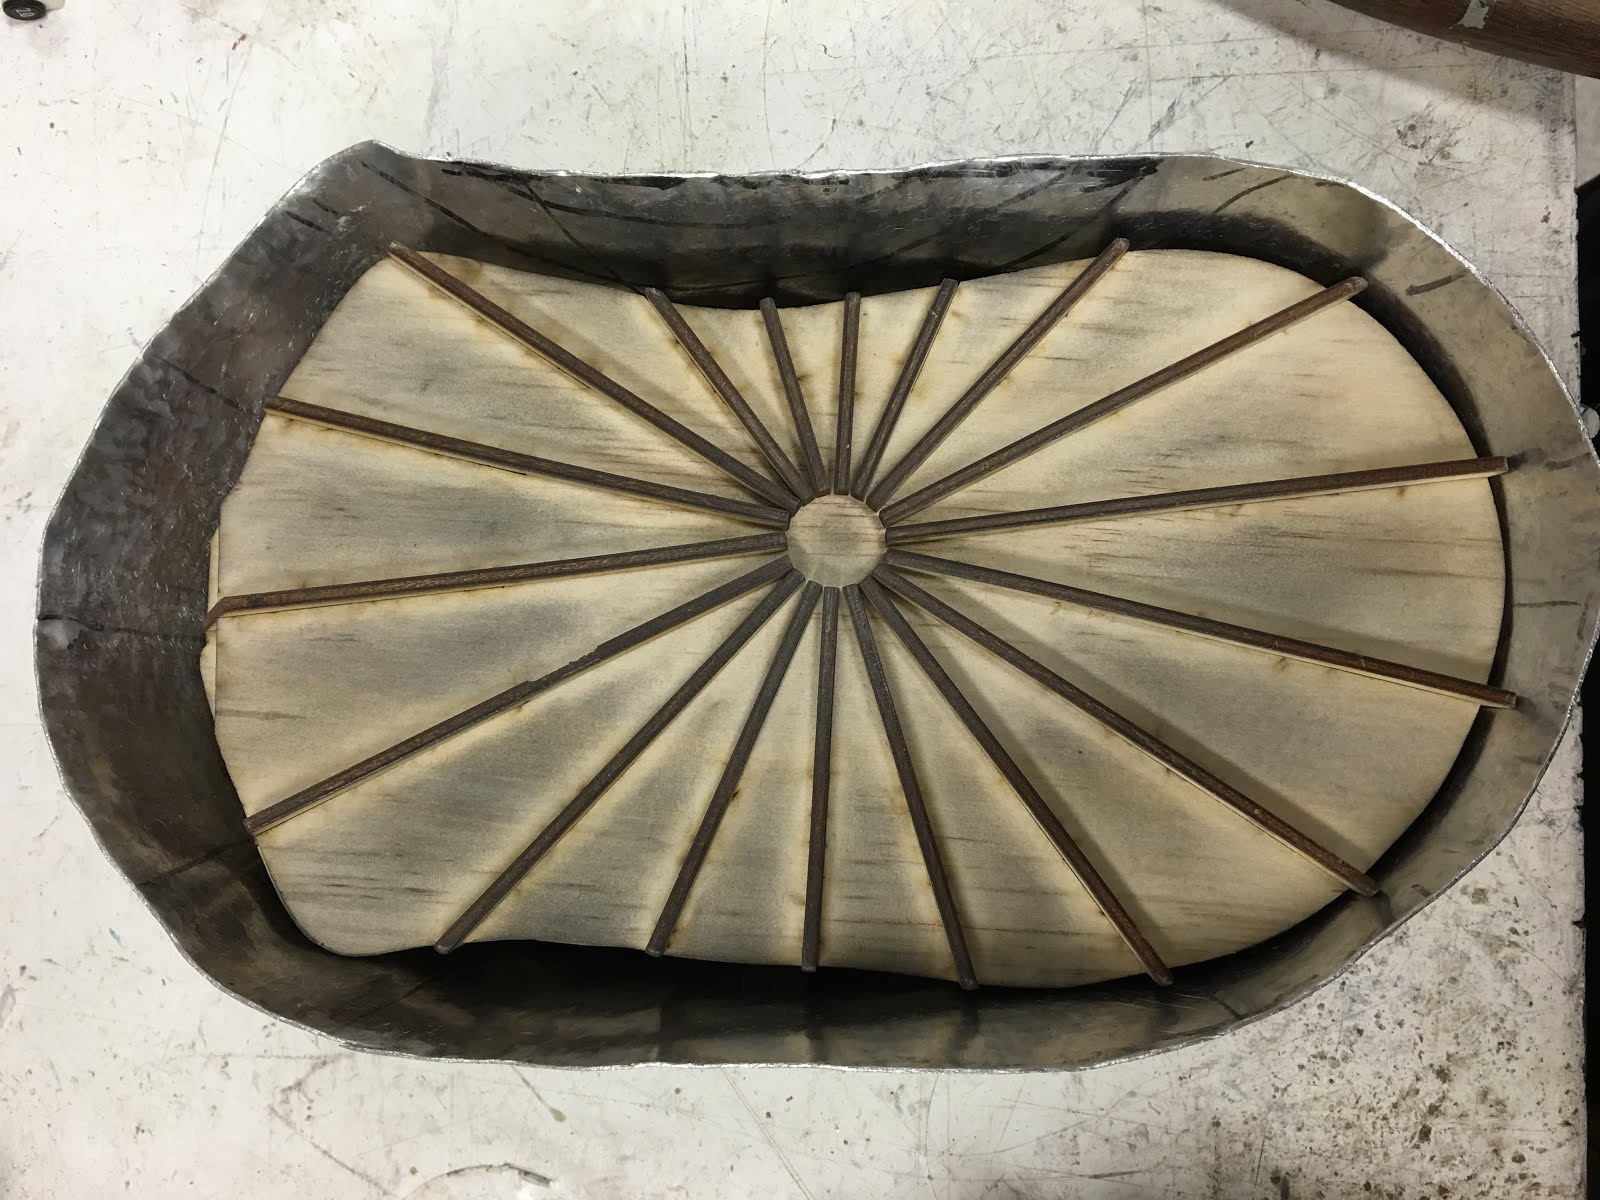
Check it each time, step by step, repect the work you done before. 
That the angle I create for the metal skin.
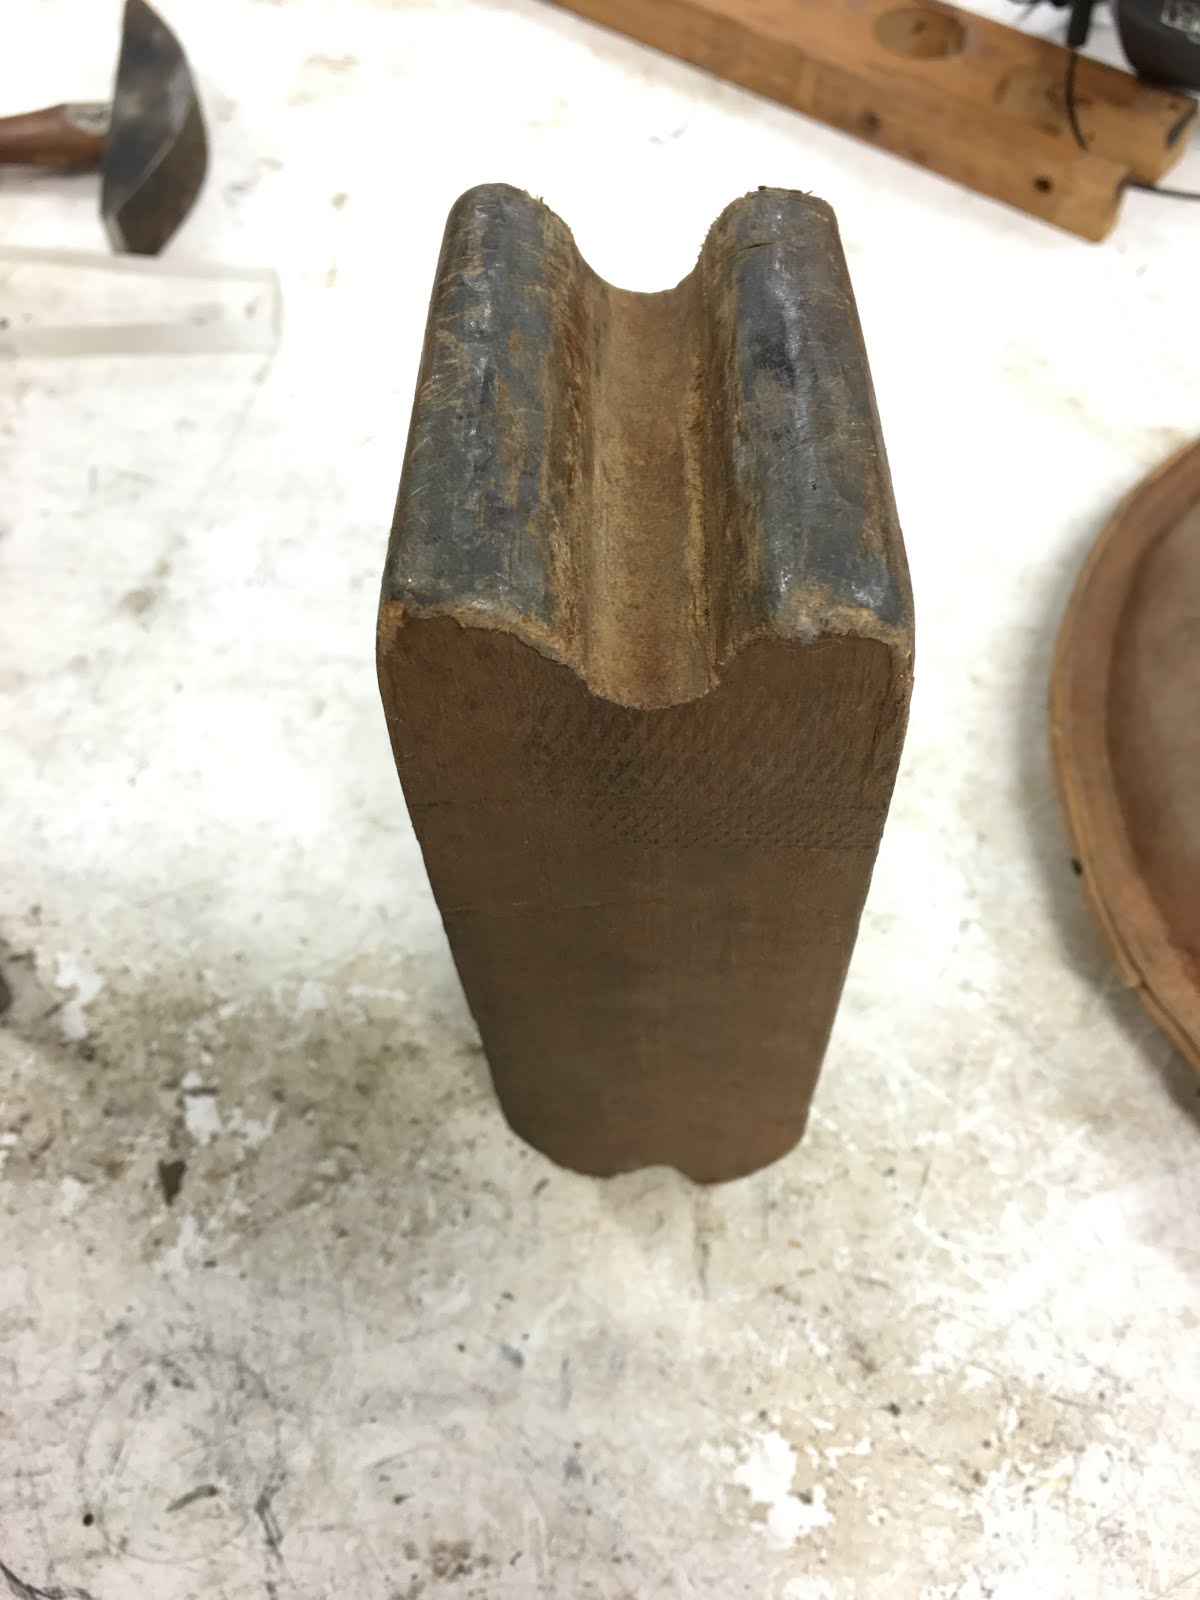
I found the most difficult part is to create the angle for the mouse front, so I found the similar shape wood, heat it from inside to outside by using the iron hammer. The iron hammer is helping to stretch the metal.

INTERDISCIPLINARY SKIN: SECOND DAY

INTERDISCIPLINARY SKIN

SECOND DAY

When I put template into the metal sheet, you can see two edges start to touch  the metal skin.
From the side way, you can see the only left small folds, leave it there, will trim the top part later. Also clearly show the metal is close to the template.
That is inside the of the metal skin, we can clearly see the curvature. 
A clear view from the front, I left with a marker pen mark,repeats the first day  steps to get this radian. It is all about shrinking, use your eye to see, use your hand to feel the metal skin.
Trim the top part of the metal skin, start to pulling two side close to the template. Remember to leave more space when you trim the metal skin. More better than less.
The tips for shrinking the marks part, you need to heat it from inside to outside on the spherical tool. Check it everytime, put the template into it, try get more imformation from it.

INTERDISCIPLINARY SKIN: FIRST DAY

INTERDISCIPLINARY SKIN
FIRST DAY
I have chosen the template of Victor Zhang from the discipline of Architecture, which is a mouse. He only done half of mouse metal fabrication. I chose to do whole of it. I love this template and it will be challenge for fabrication
Calculate the length and width of the mouse,and draw the approximate distance on the piece of metal.
The spherical tool and hammers are halp me on the metal fabrication.
Mark the approximate shape on the metal sheet. Follow the marking line to shrink it. Hold the metal above the spherical tool, heat it slowly and  finding the gap in between the metal and spherical tool, continuous cycle beating it. Suggestion is not how hard you heat on the metal, it is where are you heating it. Shrinking technic use a lot on this modle fabrication.
Compare the metal sheet with the template, it start to having the shape. You can see the folds around the metal skin. The most difficult part is to get rid of metal folds, need to heat it around the circle, couple times, be patient on it.
Finaly, on first day I come up with the shape close to the template. 
Reminder take the gloves with you, it will help and good protection for you.

2016年4月27日星期三

FINAL ALUMINIUM SHAPE


FOURTH ATTEMPT

Fourth atempt on metal sheet fabrication

detail making


Feather is soft material, metal is hard material, which is not easy shaping the detail on it.

Use the marker pan follow the template, draw the line on the metal sheet. Put it under the hard wood stick. Then use the sharp steel hammer hit on it. 


After that do some adjustment for the edge and the keep the body as the round shape.


Also when you shaping the detail check time by time, whether fit on the template or not. Finally you would get it all done.

THIRD ATTEMPT

Third attempt on metal sheet fabrication

Before trim the excess part


On third attempt I would like to show how the metal sheet look like before use the scissoer to cut of the excess part.

The best way to do it, use the ruler and marker pan draw the line on the excess part follow the radial slices template. Then use the scissoer cut it, it would more precise and accuracy when it sit on the template.

Repeat all the process that I done on first and second attempt. Finally you have a wonderful result. 


Two piece as a whole
Combine two parts together, then you would see not much gap left over, percise and tight sit on the template. 


SECOND ATTEMPT

Second attempt on metal sheet fabrication

Elevation of the metal 
Section of the metal


Use the cylinder tool and wooden hammer,first of all, how to start. If I make whole of it it will too diffcult, then seperate into two parts. In this case, cut out a fan-shape metal sheet. Hold it on the cylinder tool, blend it around the cylinder. Once you has the intial shape, use the template to find the transition line, mark it, hold the tail of the metal sheet, follow the line smash it on, do it several times. It will start to stretch and slowly forming. Once it start to curve up, would have wrinkles. Then need to use the steel hammer stretch on both side. Hit it slowly, keep it flat and tight on the cylinder.


If you want to get the beautiful curve line, you need to do bit adjustment. 


Use the steel hammer, put the metal on that round iron start to tide up get the smooth curve line.


For the head part, repeat the same technique that I show on the first attempt. More importantly, need to check the metal sheet whether suit the template or not. 


Use the marker pan draw line on the excess part, use the scissors to cut off the excess part. 


Finally, in second attempt, I create the metal sheet suit the template perfectly. But one of the mistake I made that is cutting too much excess part off, the metal sheet head can not shrink all around the head.